Adding a Logo to your Image File using Adobe Elements
These instructions have been created based on Adobe Elements 10 and are for guideline purposes only. This is only one method of adding a logo to an image and you may find other methods are more suitable to your needs.
South West Aviation Photographers cannot be held responsible for any errors in this process which may affect your original image file. We always recommend editing using a copy of the original image.
Open Adobe Elements (10)
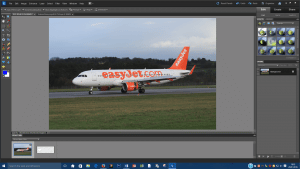
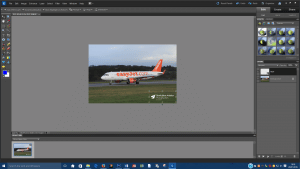
Open and edit your image as required
Use Save as the image to keep the original file intact and save the edited version as a separate image file with a different file name.
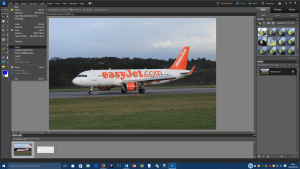
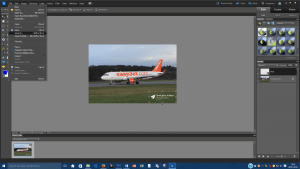
Click on File>Place and select your Logo/Watermark File
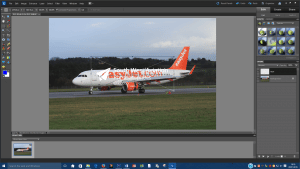
The logo file will be placed over the image file
Click on the logo details & hold the left mouse button and drag the logo to the place on the image you require it.
Now hover the mouse cursor over one of the squares in the corner of the image and you can drag in/out to re-size the logo to the size you require and then move the logo file to your required place.
Click on the Green Tick to confirm.
RE-SIZING THE IMAGE
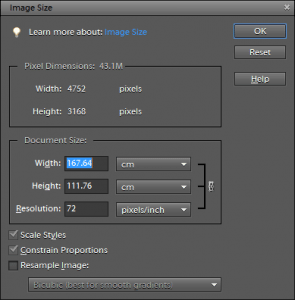
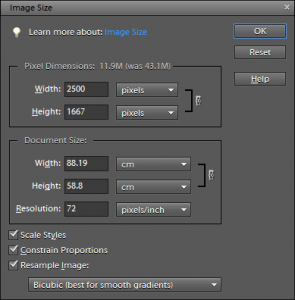
At this point you may wish to re-size the image file down slightly. If you wish to do this then choose Image>Resize>Image Size.
Tick the ‘Resample Image’ box and then choose you required new width & height (We have used 2500 pixels for the image width in this instance). Press Ok.
The image size is now reduced.
Now save the file again. File>Save As and give the file a new name and save in your required location.
© South West Aviation Photographers

